The exact layering formula designers use. Plus the small tricks that make the biggest difference.
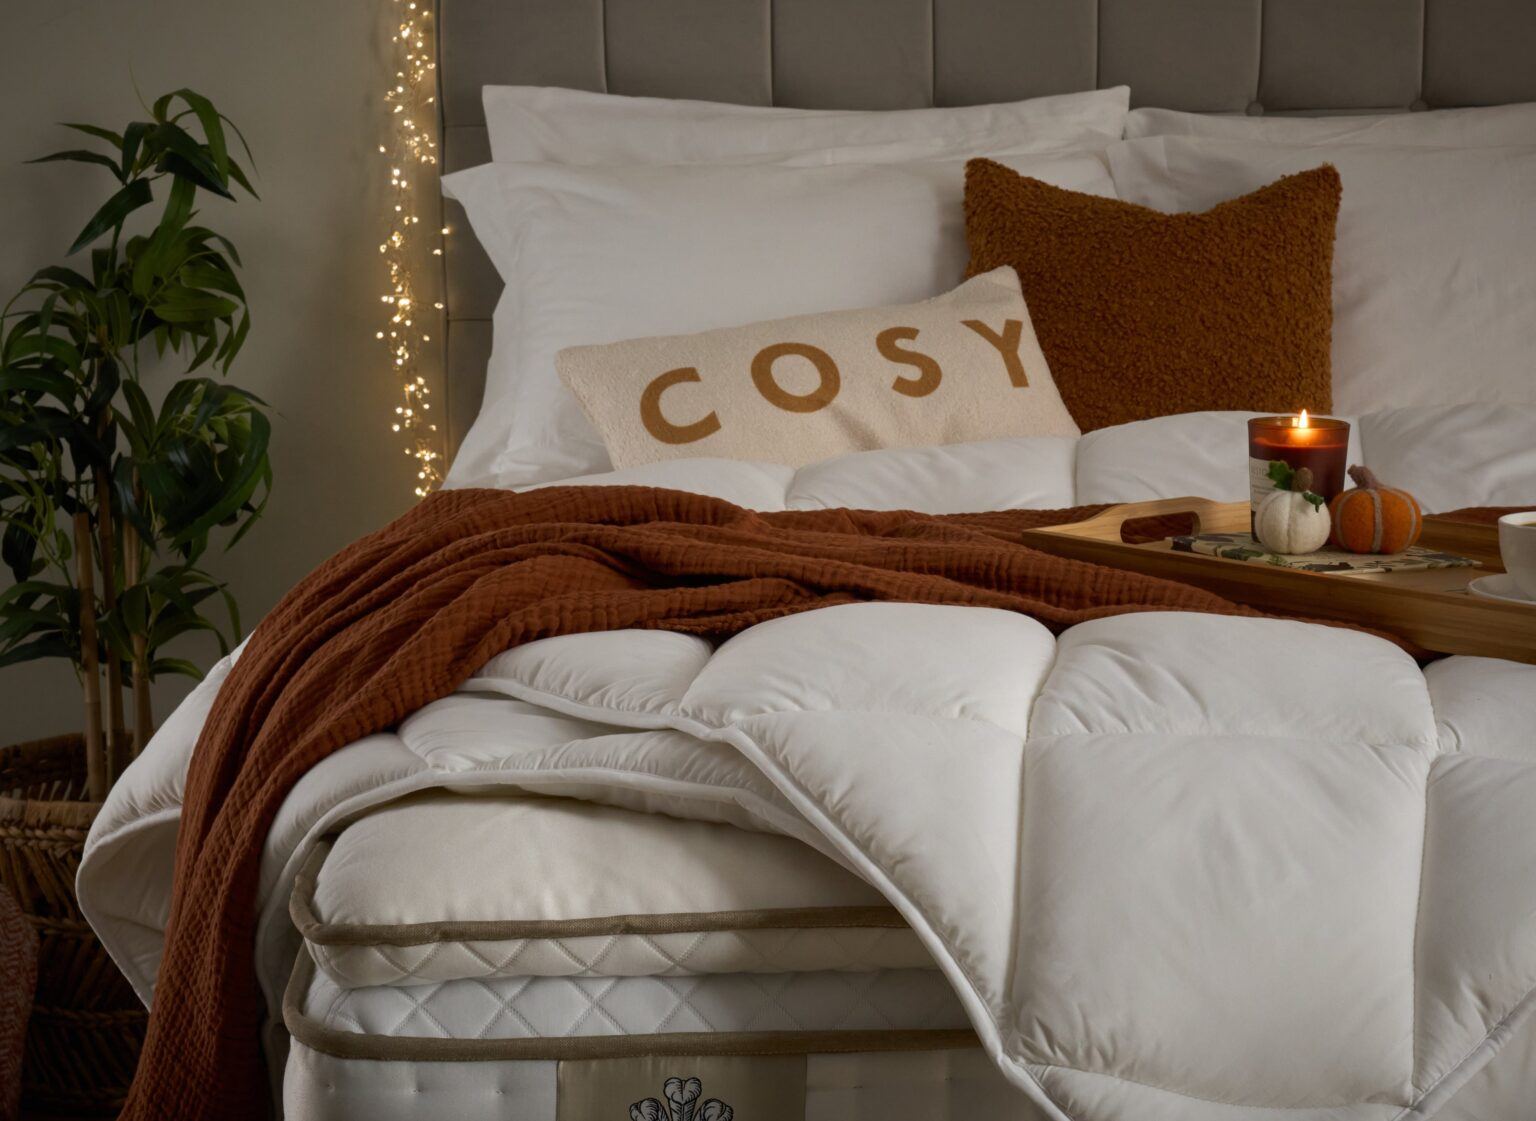
You’ve seen the beds. The Pinterest ones with the fluffy duvets, the perfectly stacked pillows, the casual throw at the foot that somehow looks intentional and not like it just fell there. Then you look at your own bed and it’s a flat comforter, two squashed pillows, and a vague sense that something’s missing.
Here’s what’s missing: nothing about it is wrong. The pieces just aren’t layered in the right order, in the right amounts, at the right heights. That’s the whole secret.
This guide gives you the exact 5-step formula designers use to style a bed. Each step has a clear order, real techniques, and the small tricks that make the difference between “made bed” and “styled bed.” The whole process takes about 5 minutes once you know it. You don’t need to buy new bedding to start.
Per Peacock Alley’s 2026 bedding layering guide, the difference between a flat bed and a designer bed isn’t more stuff. It’s smart stuff in the right order. The real trick is choosing what to leave out. Let’s go.
Step 1: Get the Base Layer Right

The base layer does all the invisible work. Designers don’t talk about it because it’s not glamorous, but if you skip it, every layer above will look off.
Here’s exactly what goes on the bed first, in order.
1. A mattress topper or pad.
If your mattress is more than 5 years old or feels firm, a 2-inch down or down-alternative topper changes everything. It’s what creates that sink-into-a-cloud feeling designer beds have. Per A Blissful Nest’s bed-layering guide, this single piece adds the visible height and softness that make stacked layers above look full instead of flat.
2. A fitted sheet pulled tight.
Per Himeya’s hotel-style bedding guide, a snug fitted sheet “makes a perfect snug base.” Get one with a 14 or 16-inch deep pocket so it actually fits your mattress with the topper underneath. White or cream cotton percale, 300 to 500 thread count. Per Styli Casa’s 2026 layered bedding guide, wrinkles in the fitted sheet make the whole bed look sloppy, so smooth it tight before going further.
3. A flat sheet (yes, you need one).
Place it print-side down. Pull it as high as the headboard. The bottom edge gets tucked under the mattress. The top edge will fold down over your duvet later, which is what creates the crisp white border every designer bed has at the top. About 15% of people skip flat sheets entirely. Don’t be one of them. The flat sheet is the layer that makes a bed look made instead of dressed.
Pro Tip: Fluff your sheets in the dryer for 10 minutes with a damp washcloth before putting them on. Per A Blissful Nest’s designer bed guide, this single trick gets sheets wrinkle-free and crisp without ironing. Add wool dryer balls and a drop of lavender essential oil if you want the spa effect.
Reality check: smooth your fitted sheet with both hands, corner to corner, before adding the next layer. Run your hand across it. If you feel any ripples, your top layers will photograph as lumpy no matter what you do above.
Step 2: Add a Lightweight Blanket or Quilt
This is the layer most people skip. It’s also the secret to that full, layered look. Per Styli Casa’s 2026 guide, this is the layer that gives your bed depth. “If your bed always looks flat, you might realize this is the layer you’re missing.”
Here’s what to use and how to place it.
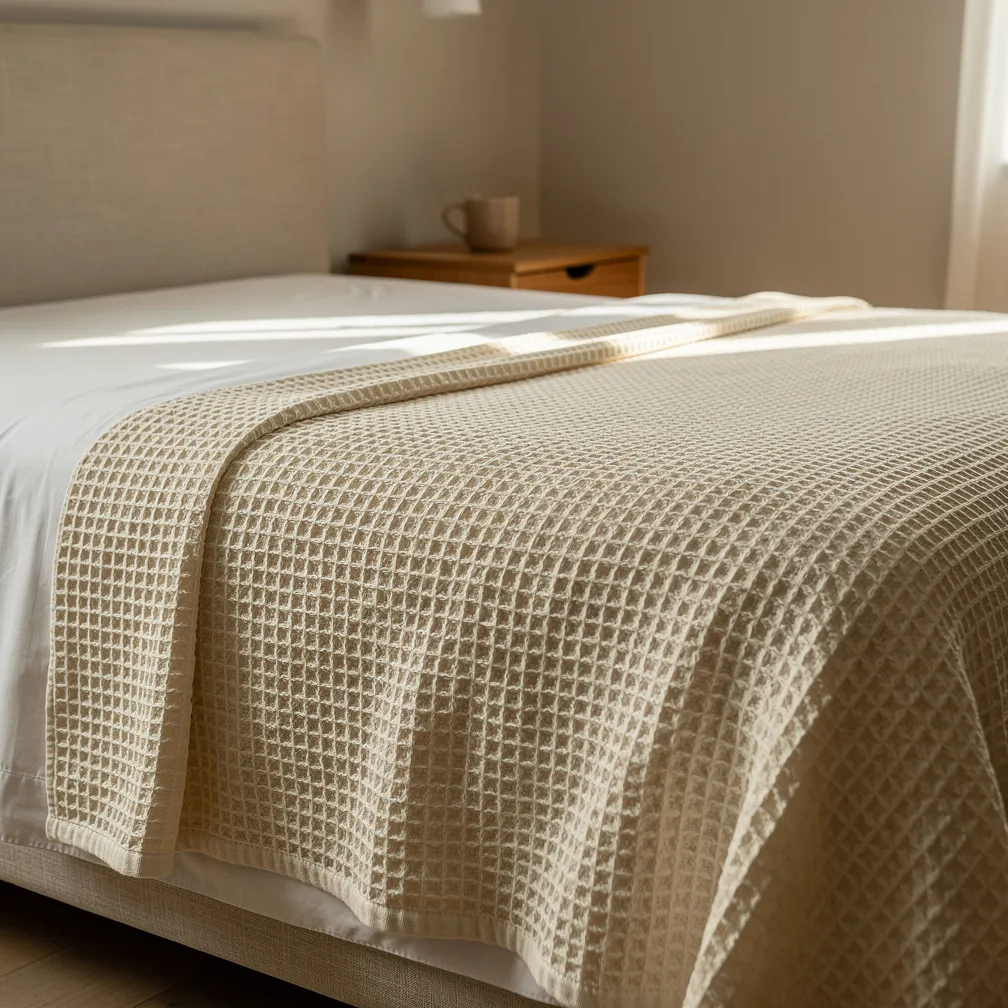
Pick a textured cotton blanket, waffle weave, or thin quilt.
Cream, oat, or a soft pattern that ties to your color palette. Real cotton or linen, not synthetic. Per Peacock Alley’s 2026 layering guide, a lightweight textured blanket “adds visual contrast without overheating, making it suitable year-round.”
Lay it flat across the bed, all the way to the headboard.
Pull it taut. Tuck the bottom under the mattress, or let it hang straight down to the floor. Don’t fold it yet. We’ll fold the duvet down over it later to expose this layer.
This is also where you can add color or pattern.
If your sheets are white, this can be your subtle pattern moment. A faded ticking stripe, a small block print, a soft floral. Skip the bold patterns here. Save those for accent pillows in step 4 where you can swap them easily.
Pro Tip: In summer, this lightweight blanket can be your top layer. Skip the duvet entirely from June through September. You still get the layered look. You don’t get the heatstroke. Per Peacock Alley’s 2026 guide, swapping a duvet for a lightweight cotton blanket in warmer months gives you a breathable, minimalist alternative.
Reality check: the blanket should hang down on both sides of the bed equally. Step back from the bed and look. If one side is longer than the other, redistribute. The eye notices asymmetry instantly even when you can’t name it.
Step 3: The Duvet (This Is Where the Magic Happens)
The duvet is the visual centerpiece of the whole bed. Get this wrong and nothing above it can save the look. The two biggest mistakes: using a duvet that’s too small for the bed, and not folding it correctly.
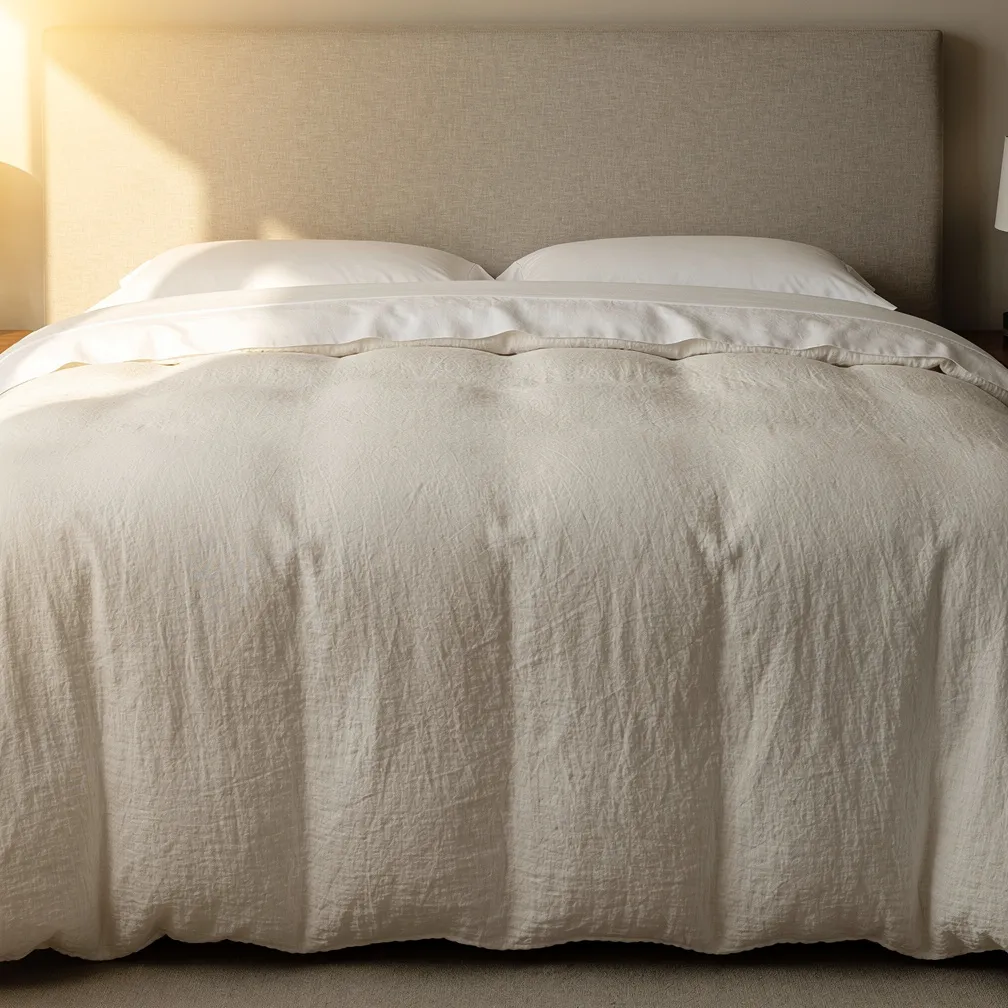
Buy a duvet one size up from your bed.
Queen bed? Buy a king duvet. King bed? Buy a California king. Per Styli Casa’s 2026 guide, your duvet should be slightly oversized if you want that hotel-style drape. A duvet that barely covers the sides makes the bed look small and underdressed. The extra fabric is what creates the soft drape down the sides.
Fold the top down 12 to 16 inches.
Per Nadine Stay’s designer bed guide, you fold “the duvet down once to show a peek of the bed blanket beneath.” The fold should land a hand’s width below the headboard. This single move is what reveals the lightweight blanket layer underneath and creates the visible stacked-layer effect.
Now fold the flat sheet’s top edge down over the duvet fold.
About 6 to 8 inches. The pretty hem of your flat sheet should now show as a neat band of contrast at the top of your bed. This is the white-hotel-bed look you’ve seen in every design magazine.
Shake the duvet to fluff it.
Per A Blissful Nest’s designer bed guide, the trick is to “shake it with both hands to fluff it back up.” Hold the corners and shake hard three to five times. The trapped air is what makes a duvet look full. A flat-looking duvet is a deflated one.
Pro Tip: Linen and cotton percale duvet covers wrinkle naturally and look intentional. Sateen looks shiny and a little plastic in photos. If you’re choosing your first duvet cover, pick washed linen or percale in cream, white, or oat. The natural wrinkles are part of the look, not a problem to iron away.
Reality check: Photograph your bed from the foot of the bed, looking up. If you can see the headboard above the pillows, the duvet, and the blanket fold, you’ve got the layers right. If everything blurs into one shape, you need more contrast or a bigger fold.
Step 4: Stack the Pillows the Designer Way
Pillows are where most people overdo it or underdo it. The designer formula is simple: build height in the back, comfort in the middle, and personality in the front. Five pillows on a queen, five or seven on a king. That’s the rule.
Here’s the exact order from back to front.
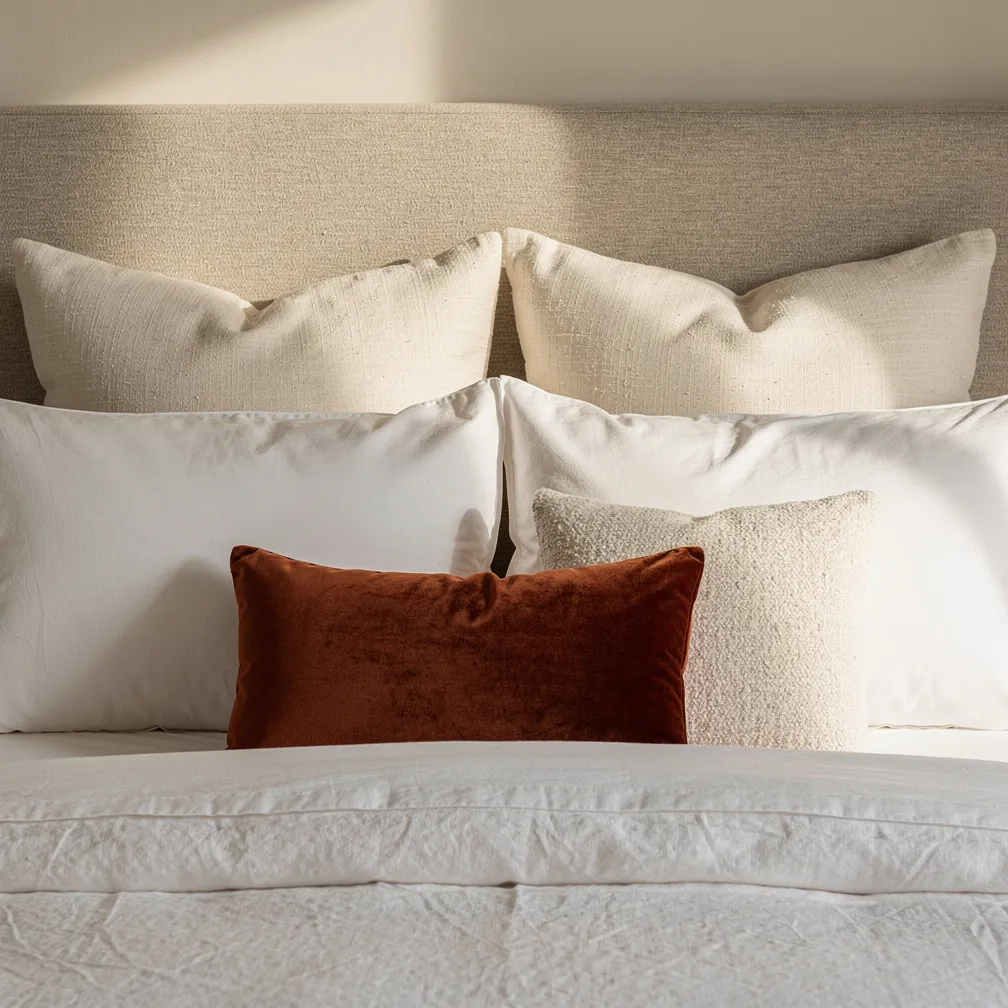
Row 1 (back): Two Euro shams.
These are the big square pillows (26 by 26 inches). They go flat against the headboard. They create the height that makes the whole stack look intentional. Per Furnifixes’ 2026 designer bed guide, Euro shams create the back-row height that balances the proportion of larger beds. White, cream, or a textural neutral like linen or boucle.
Row 2 (middle): Two standard sleeping pillows.
These are the ones you actually sleep on. Stand them upright in front of the Euro shams. White or cream pillowcases that match or coordinate with your sheets. Karate-chop the top of each one with the side of your hand to create the dent designers always use. The dent makes the pillow look soft and lived-in instead of hotel-stiff.
Row 3 (front): One or two accent pillows.
This is your color and pattern moment. A lumbar pillow in velvet, a square pillow in a small print, a textured boucle pillow. Per A Blissful Nest’s designer guide, this is where you get to add your personal style and color choices. Pick one statement piece, not three. Two accent pillows max on a queen bed. Three on a king.
For king beds, use 6 or 7 pillows total.
Three Euro shams in the back instead of two. Two sleeping pillows. Two or three accent pillows. The wider bed needs the extra width to look balanced. Skip the third row of king-sized pillows; they crowd the headboard and have to be removed every night anyway.
Pro Tip: The karate chop trick works on any pillow filled with down or down-alternative. Per Styli Casa’s 2026 guide, the dent is what makes pillows look softly oversized and casual rather than rigid. Practice on one pillow first; you’ll get the right pressure after two or three tries.
Reality check: count your decorative pillows. If you have to move more than four pillows off the bed every night to actually sleep, you have too many. Designer beds look styled but they also need to function. Anything more than 4 to 6 throw pillows is a Pinterest fantasy that nobody actually lives with.
Step 5: The Throw at the Foot (The Final 10%)
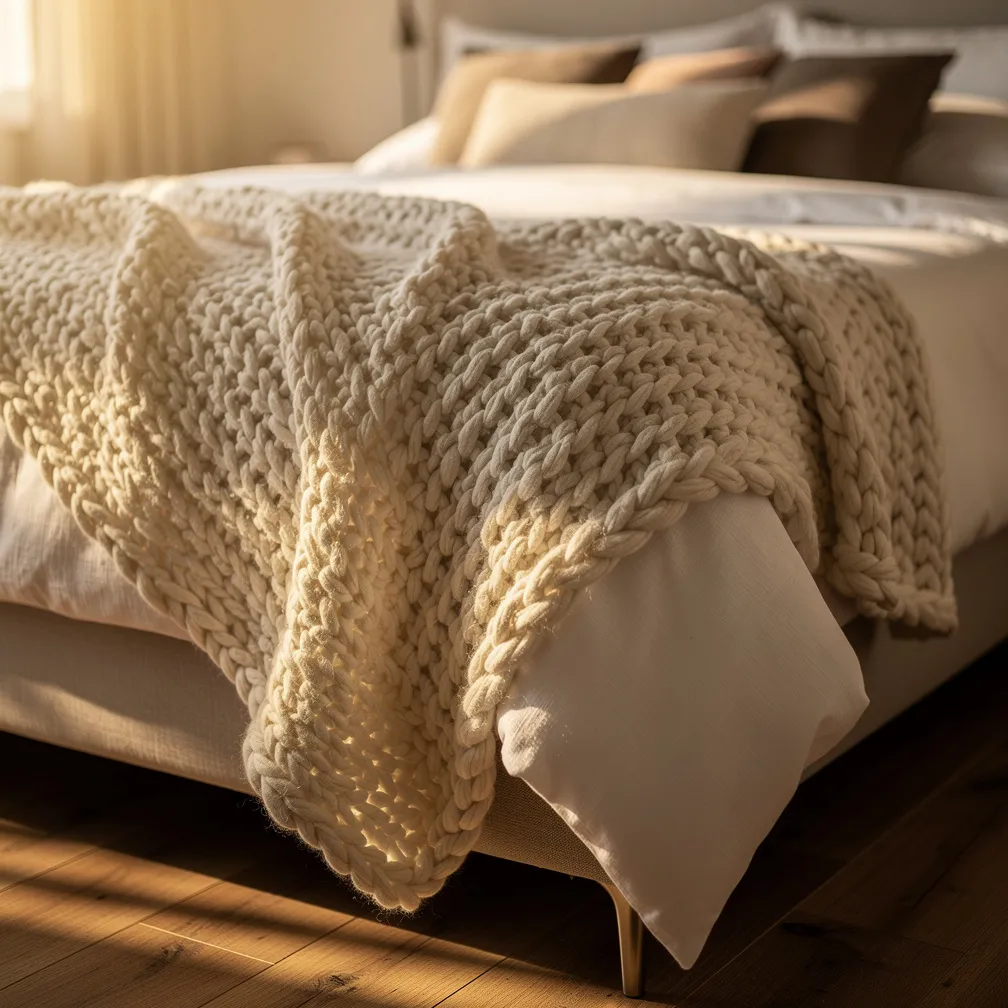
This is the tiny detail that separates a regular layered bed from a styled one. Skip this step and your bed will still look good. Add it and your bed will photograph beautifully and feel finished.
Pick a throw with texture that contrasts the duvet.
If your duvet is smooth linen, pick a chunky knit throw. If your duvet is a textured weave, pick a smooth wool or velvet throw. Per Furnifixes’ 2026 designer guide, the throw is what “brings warmth and personality to your space, completing the styling of your bed.”
Drape it casually across the foot of the bed.
Don’t fold it perfectly into a square. Per Nadine Stay’s bed-layering guide, you want the throw to look rippled and casually unmade, or you can drape it diagonally across one corner of the bed. The casual drape is what makes the bed feel lived-in instead of staged. Folded-in-thirds throws look like hotel housekeeping. Casually draped throws look like a designer styled it.
Match the throw width to the duvet width.
Per Nadine Stay’s guide, look for a throw blanket roughly the same width as your duvet, so it doesn’t look too short across the foot of the bed. A skinny throw across the foot of a wide bed looks wrong. The throw should reach within 6 inches of the bed sides on either end.
Pro Tip: Keep two throw blankets in rotation. One on the bed, one in a basket nearby. Swap them weekly so dust and pet hair don’t build up on either. Per A Blissful Nest’s bed guide, having an extra throw stored in a basket in the corner of the room is also useful for grabbing on cold nights or curling up in a reading chair.
Reality check: step back 6 feet from the bed and look at it. If your eye lands on the throw first, it’s too bold or too contrasting. The throw is the supporting actor, not the star. Swap it for something quieter if it’s stealing the spotlight from your duvet and pillows.
The 5-Minute Designer Bed Checklist
Here’s the whole formula in order. Print this, save it to your phone, or stick it on the closet door for the next two weeks until it becomes muscle memory.
- Mattress topper (optional but transforms the look)
- Fitted sheet, smoothed tight, wrinkle-free
- Flat sheet, print-side down, pulled to the headboard
- Lightweight blanket or quilt, taut across the bed
- Oversized duvet, folded down 12 to 16 inches
- Flat sheet edge folded over the duvet 6 to 8 inches
- Two Euro shams in back (white or cream)
- Two sleeping pillows in front, karate-chopped
- One or two accent pillows for color and pattern
- One throw, draped casually across the foot of the bed
That’s it. Ten steps. About 5 minutes once you’ve done it twice. Your bed will go from “made” to “styled” the first time you follow this in order.
You don’t need new bedding to start. Use what you already have. The order and the technique do most of the work. Once you’re comfortable with the formula, you can swap pieces seasonally without ever rebuilding the whole system.
The designers who style beds for magazines aren’t doing anything magic. They’re doing this exact sequence with good fabrics, careful folding, and the karate chop. Now you can too.
Sources
Every quote, technique, and step in this article comes from a real, current 2025 to 2026 source.
- TheCoolist. “28 Layered Bedding Ideas for 2026.” April 2026.
- A Blissful Nest. “How to Layer a Bed Like a Designer.” Updated November 2025.
- Peacock Alley. “Bedding Layering: 6 Pro Techniques.” February 2026.
- Styli Casa. “18 Layered Bedding Ideas for 2026.” March 2026.
- Himeya. “How to Layer Bedding Like a Designer: Step-by-Step Guide to a Hotel-Style Bed.” August 2025.
- Nadine Stay. “How to Make Your Bed Like a Designer: Blanket Layering Guide.” March 2024.
- Furnifixes. “How to Style a Bed Like a Designer: Detailed Guide 2026.” May 2025.
- White and Woodgrain. “Learn How to Layer & Style Your Bed Like a Designer.” May 2025.
- Red Land Cotton. “How to Layer & Style Your Bed Like a Designer.” February 2024.